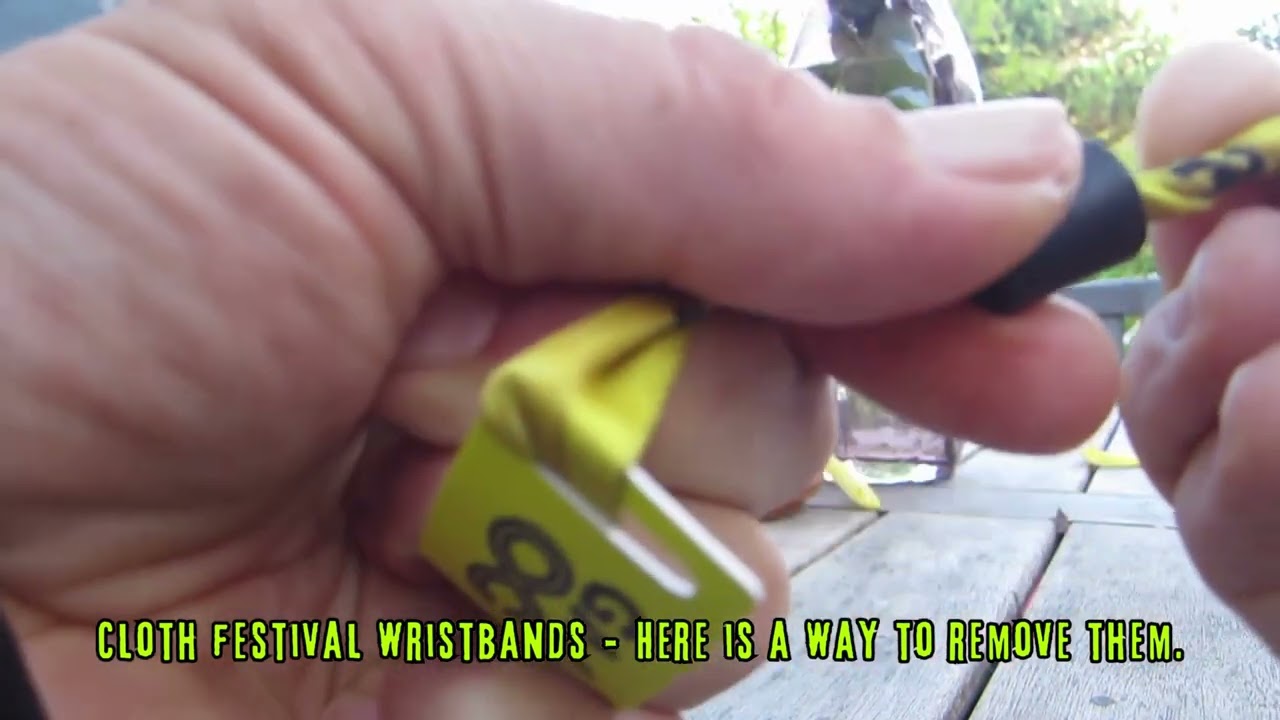
For many, bracelets festival Bracelets are much more than just accessories; they represent unforgettable memories and experiences. However, adjusting or removing bracelets can be a challenging task. Fortunately, there is an effective method called the “Twist Method” that offers a practical solution to dealing with tight bracelets. In this article, we will explore step by step how to use this method and adjust or remove bracelets for parties or events conveniently.

How does the Twist Method work?
The “Twist Method” is based on the idea that twisting the ends of the bracelet into a tight coil can reduce its width, allowing the clasp to slide on more easily. Festival bracelets often have plastic clasps with small “teeth” that engage the fabric to ensure a secure fit. By twisting the bracelet and reducing its width, you can “unlock” these teeth and make it easier to slide the clasp on.
Step by Step: Using the Twist Method
Step 1: Preparing the Bracelet
Start by gently twisting the ends of the bracelet into a tight coil. The goal is to create a thin, compact twist. The thinner the twist, the more effective the clasp will be at adjusting later. It is important to note that this method is only suitable for bracelets with plastic clasps.
Step 2: Positioning and Preparation
With the bracelet twisted, hold the clasp between your fingers while keeping the bracelet wrapped around your hand. Use your free hand to place the twisted end of the bracelet against the palm of your hand. Use your pinky and ring fingers to hold the twisted end in place. Then, with your free fingers (index, middle and thumb), hold the clasp of the bracelet.
Step 3: Adjusting the Clasp
Carefully slide the clasp along the twisted coil, moving it toward the end of the bracelet. Do this in one firm, quick motion. If the twist is correct, the plastic clasp will slide smoothly along the bracelet, allowing you to adjust it easily.
Additional Tips for Success
- Collaboration: If possible, ask a friend to help you with the process. Having two people working together can make the process more efficient.
- Persistence: If the clasp doesn't come together on the first try, don't be discouraged. Sometimes you may need to adjust the twist of the bracelet or repeat the process a few times until you get the desired result.
- Attention to Twist: Make sure to twist the bracelet enough to make it thinner, but avoid twisting it too much as this could damage the clasp or the bracelet itself.
Conclusion
The “Twist Method” is a simple and effective approach to adjusting tight festival bracelets. Understanding the concept behind this method and following the steps carefully can help make the process smoother and more convenient. With a little practice and patience, you’ll be ready to tackle any tight bracelet with confidence, fully enjoying your festive events.


*AI generated images


